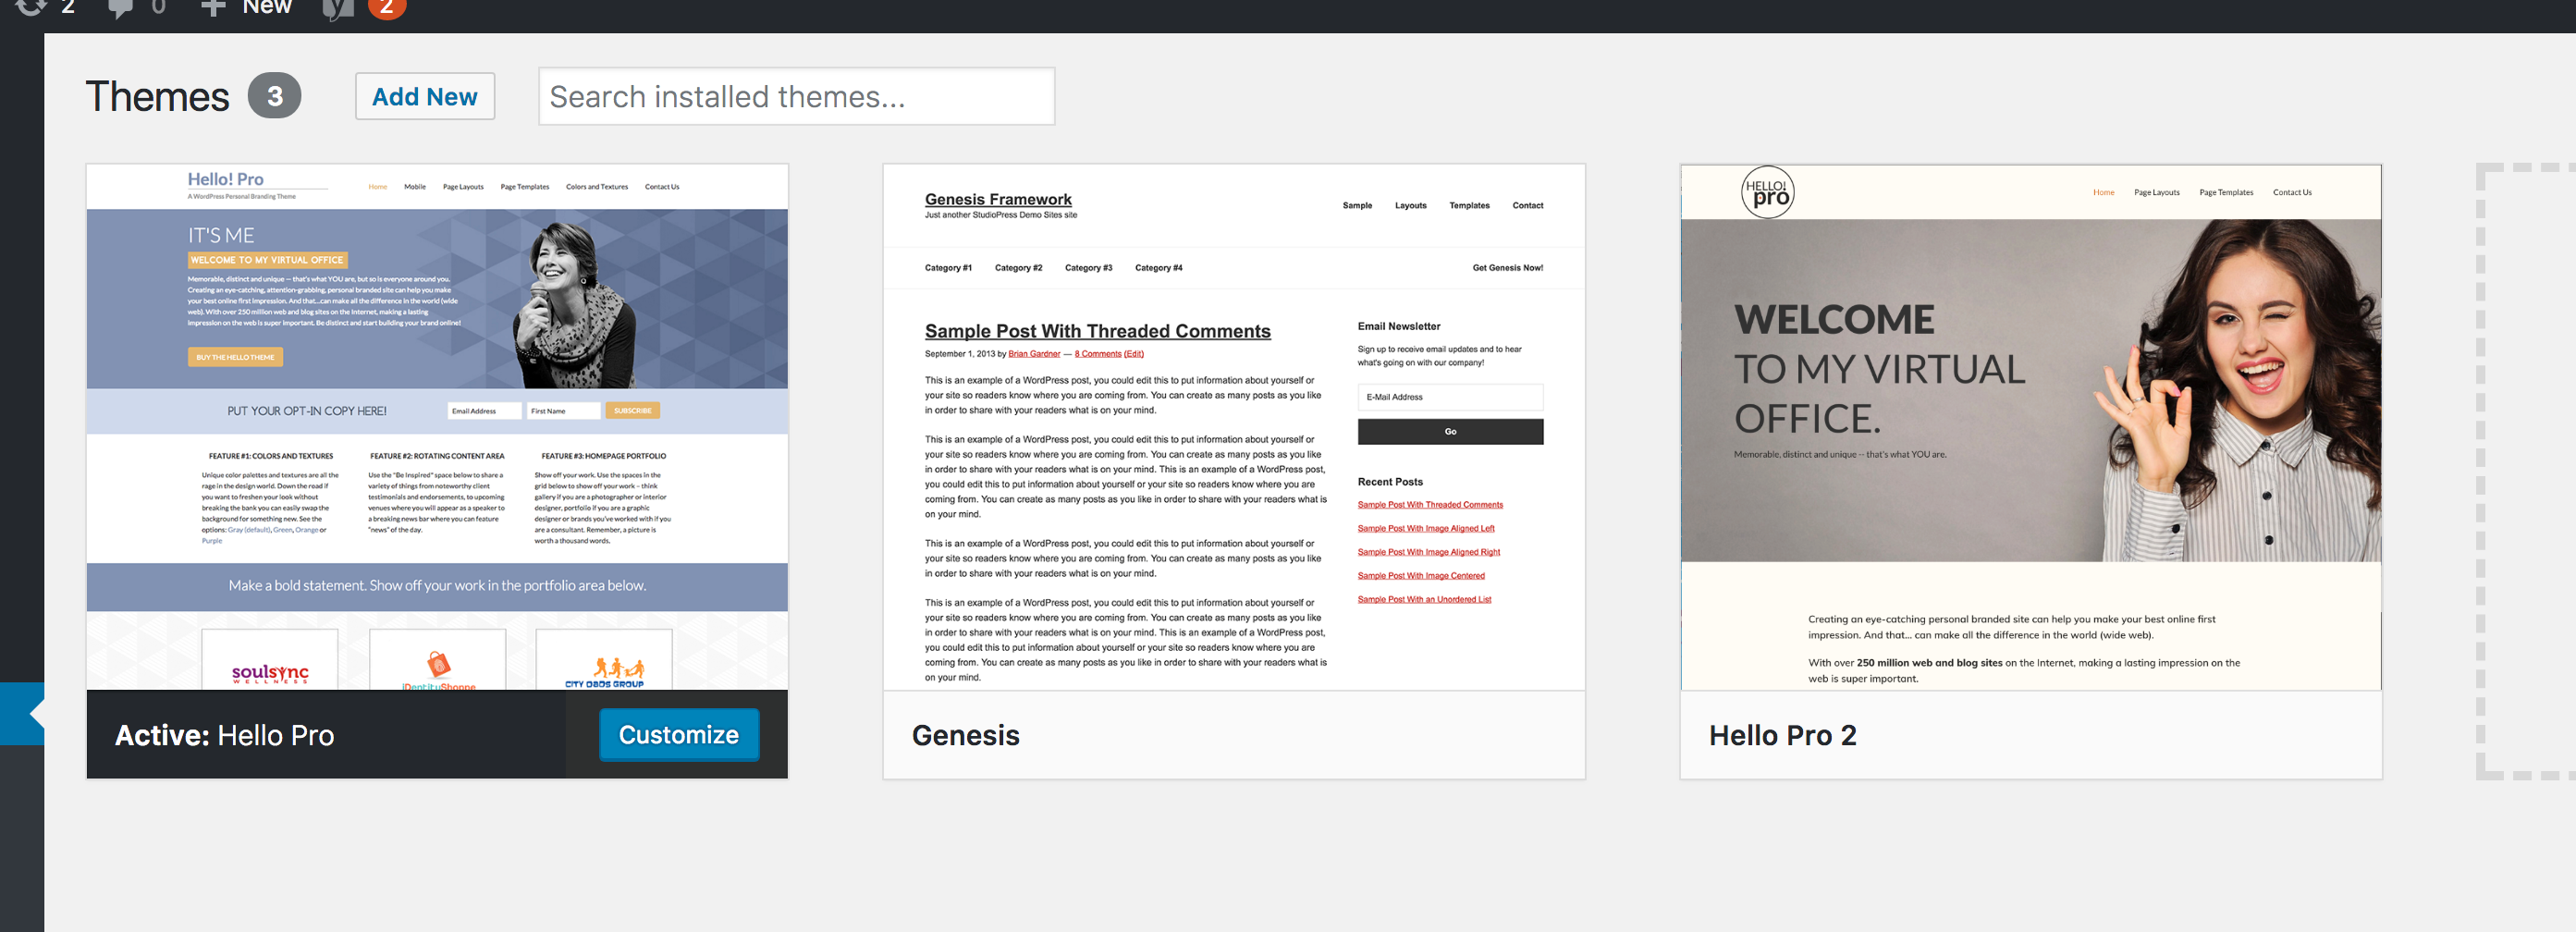
Hello! Pro, a WordPress Personal Branding Theme from brandiD is built exclusively for the Genesis Framework. If you have not yet purchased the framework, you can do that here.
Here is a link for the Hello! Pro theme demo for your reference.
Download Your Theme
Immediately after your purchase, you should receive a confirmation email with a download link. Your purchase of the Hello! Pro theme includes a file called hello-pro-2.zip this archive contains the theme files.
Note: Updating from Hello Pro Version 1 to Version 2? Version 2 is a new theme and will not overwrite the original Hello Pro Version 1 theme if you have it installed.
If you have customized Version 1 of the theme, you will need to manually add those customizations to Hello Pro v2. Treat version 2 just like you would a new child theme for Genesis. In fact when you install Hello Pro v2, it will appear as a separate child theme.
How to Add and Remove Themes
- Install the Genesis Framework. From your WordPress Dashboard go to Appearance > Themes. Click “Add New.” Click “Upload Theme.” Browse your computer to upload the file you purchased from StudioPress. You do not need to activate the Genesis Framework.
- Install Hello! Pro Theme. From your WordPress Dashboard go to Appearance > Themes. Click “Add New.” Click “Upload Theme.” Browse your computer to upload the file called “hello-pro-2.zip.” Click “Activate” when the file is finished uploading.Please make sure that you have the most recent version of the theme. When this documentation was created, the theme version was 2.1.0. Your version should not be less than that – but may be greater if an update was released since this documentation was published. Not sure what version you have? The version number appears on the theme page after installation.
- Update your permalinks (optional). If you are creating a brand new site that has not been published yet, we recommend you set your permalinks to “Post Name”. If your site is already live and you’re just changing themes, you can skip this step. Changing your permalinks after your site is live can result in search engines not being able to find your content without reindexing the site and it can have short term negative effects on SEO rankings. Permalinks can be changed, but it involves redirecting the old URLS to the new URLS. That is outside the scope of this documentation. From your WordPress Dashboard go to Settings > Permalinks. For maximum search engine friendly-ness, we recommend the “Post Name” option (ie. http://thebrandid.com/sample-post/) but configure as you wish for your site.