Setup your site in minutes, not hours!
We all know that setting up a new website can take some time. After installing Genesis, you need to install the Child Theme, then install its recommended plugins, configure them, and check along the way to make sure it works like you expect. To save you setup time, Course Maker Pro was developed to use the new One-Click Theme Setup feature that is now a part of Genesis. With the click of a button, the theme will install Course Maker Pro, all the plugins we recommend, and some demo content, making your site appear just like our Demo Site in just a few minutes. Afterwards, simply modify the Theme Settings and replace the content to suit your needs.

Please note: Course Maker Pro requires Genesis 3.0 or newer. Please ensure you are using the latest version of the Genesis framework before installing Course Maker Pro.
To use the One-Click Theme Setup, perform the following steps:
- Backup your website database and files
- Under Appearance > Themes, click the Add New button near the top of the page
- Upload the .zip file: course-maker-pro.zip
- Activate Course Make Pro
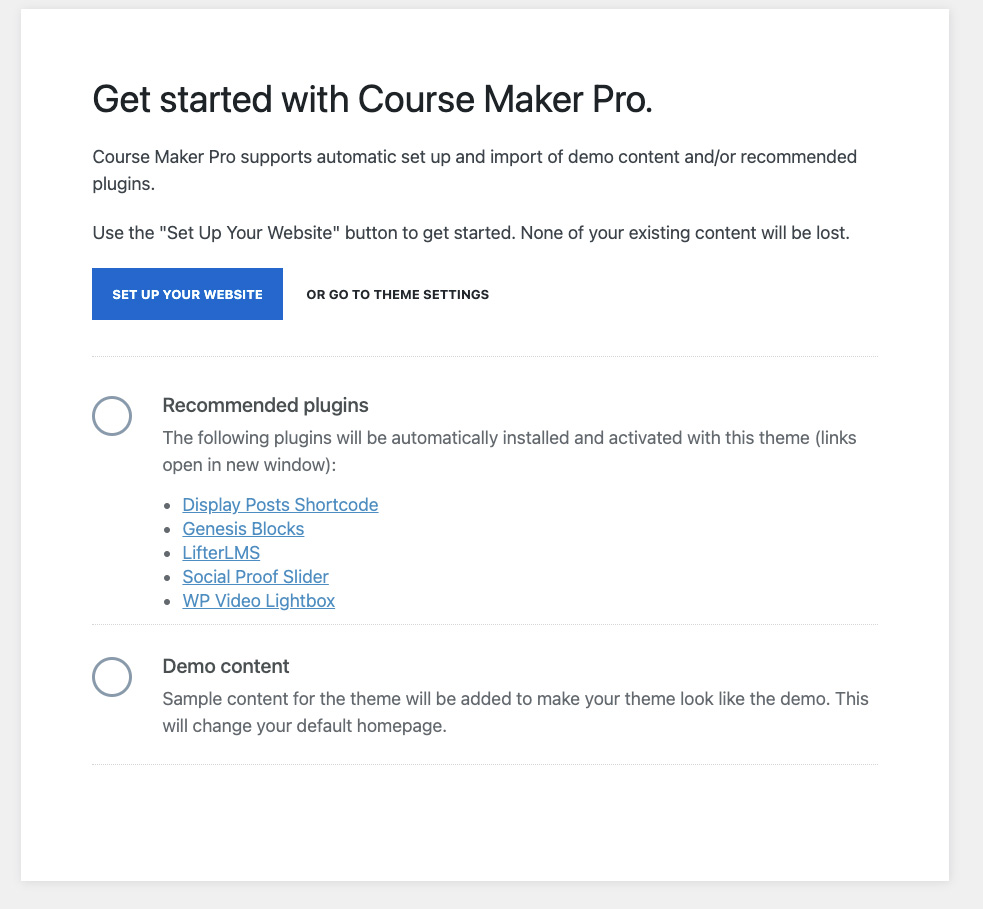
- Upon activation, you will be taken to a page where you can run the optional automated setup. Click the blue button for Setup Your Website – this will begin the installation process
- If you are not automatically redirected to the Theme Setup page, you can find it at: {website}/wp-admin/admin.php?page=genesis-getting-started
Recommended Plugins
We’ve curated a few plugins we think will help you use Course Maker Pro. The following plugins will be automatically installed and activated during the One-Click Theme Setup:
Demo Content
When the One-Click Theme Setup is finished, you will see there are a few new pages created: Homepage, About, Blog and Contact.
You will also notice there are six sample blog posts created – feel free to modify or remove these demo posts and pages as needed.
The new Homepage and Blog pages will be assigned under Settings > Reading.
If the default blog category named “Uncategorized” exists and has not been renamed, it will be renamed to “General” during the One-Click Theme Setup.


